If you are looking for a new way to enhance your appearance, consider brown acrylic nails. This type of nail polish is becoming increasingly popular, and for good reason – it looks great on everyone! In this article, we will provide tips on how to create the perfect brown acrylic nails, as well as show you some trendy designs that you can try. So what are you waiting for? Read on to learn more!
How to create nails using acrylic powder: Step-by-step instruction
Acrylic nails are extremely popular nowadays. They look great and can be very long-lasting if done properly. However, many women are intimidated by the thought of having to create their own acrylic nails at home. If you’re one of them, don’t worry – we’re here to help! In this article, we will walk you through the process of creating your own brown acrylic nails step-by-step. So let’s get started!
 | Pvoiue Medium length press-on brown acrylic nails with magnolia flowers and glossy finish [Medium length] Colors: brown, yellow 60+ Ratings | |
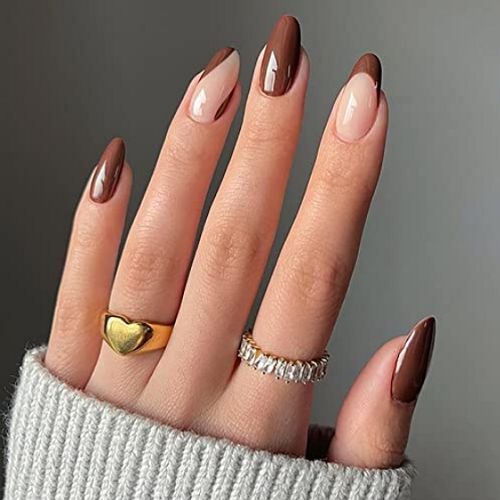
 | Sunjasmine Medium length almond brown press-on acrylic nails [Medium length] Colors: nude beige, brown 700+ Ratings | |
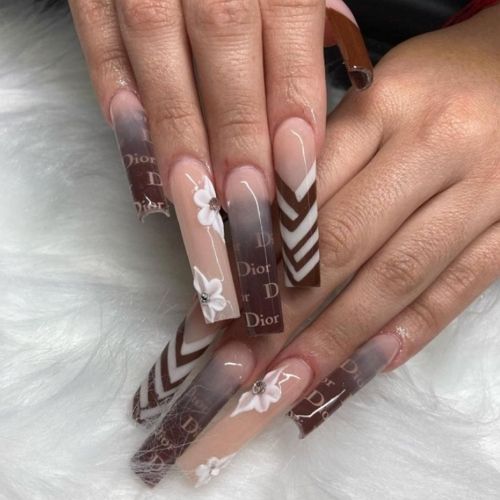
 | Babalal Long acrylic coffin nails with brown, dark beige and gold design [Long] Colors: brown, gold glitter, nude beige 400+ Ratings | |
Imsohot Short square nails with brown, transparent and gold design elements [Short] Colors: brown, gold 100+ Ratings | ||
 | Babalal Long acrylic press-on nails with brown French tips and daisies [Long] Colors: brown, white, nude pink 100+ Ratings |
The first thing you need to do is gather all of the supplies you’ll need. This includes an acrylic powder in the shade of your choice (we recommend brown), a clear nail polish, a base coat, a top coat, and a buffer. You will also need a few other tools, such as a nail file, a cuticle pusher, and a dotting tool. Once you have all of your supplies, it’s time to get started!
The first step is to prep your nails. Start by filing them into the shape you desire and then pushing back your cuticles. Next, use the buffer to buff your nails and create a smooth surface. Now that your nails are prepped, it’s time to start applying the acrylic powder.
To do this, start by painting your nails with clear polish. Then, dip the end of your dotting tool into the powder and apply it to your nails in small dots. Once you have applied the desired amount of powder, use the brush to spread it out evenly. Make sure that you cover the entire nail surface.
Once the powder is applied, it’s time to cure your nails using a UV or LED light. Curing helps to set the acrylic and prevent chipping. After curing, apply a top coat of clear polish to protect your design and give your nails a glossy finish.
And that’s it! You’ve now created your own perfect brown acrylic nails. We hope you enjoyed this tutorial and that you’ll be able to use these tips to create beautiful nails.
The most popular shapes of acrylic nails
Now that you know how to create acrylic nails, it’s time to talk about the most popular shapes. The three most common shapes are oval, square, and stiletto. But which one is right for you?
If you have short or wide nails, we recommend choosing an oval shape. This will help to make your nails look longer and thinner. If you have long or narrow nails, a square shape would be a better option. This will help to make your nails look shorter and wider. And if you’re looking for something more dramatic, a stiletto shape is perfect. This pointy style is sure to turn heads!
Coloring acrylic nails brown
Now that you know how to shape your nails, it’s time to talk about color. When it comes to brown acrylic nails, there are endless possibilities. You can go for a light brown shade if you want a natural look. Or you can try a dark brown shade for something more dramatic. You can even add some sparkle with glitter polish or go for a matte finish.
 | Babalal Extra long square ptress-on nails with ombre design and gold lines [Long] Colors: brown, nude pink, gold 400+ Ratings | |
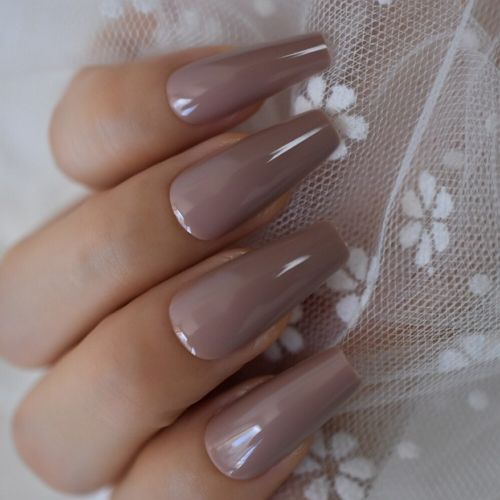
 | Aksod Medium acrylic press-on nails with light brown ombre design and satin finish [Medium length] Colors: nude beige, light brown | |
 | YoYee Milky white and light brown ombre press-on acrylic nails [Medium Length] Colors: brown, milky white 300+ Ratings | |
 | Uranian Short brown ombre nails with gold french tips [Short] Colors: light brown, nude pink, gold 400+ Ratings | |
 | Imsohot Long acrylic nails with glossy finish and brown ombre design [Long] Colors: brown, nude pink 30+ Ratings |
Top 5 design ideas for brown acrylic nails
Once you’ve decided on the perfect shape for your brown acrylic nails, it’s time to get creative with the design. Here are some of our favorite ideas:
- For a simple and elegant look, try painting your nails with a nude polish and then accenting them with a brown design.
- If you want something more flashy, try using glitter polish or adding rhinestones.
- For a fun and funky look, try painting each nail with a different design.
- And for an ultra-glam look, try using gold or silver polish as an accent color.
We hope you enjoyed this article and that you now feel confident in creating your own brown acrylic nails. Remember to have fun with the design process and to experiment with different colors and shapes. And most importantly, don’t be afraid to get creative!
Meet our Expert
 Elaine Andrews is a professional nail technician with 12+ years of experience. She works both with gel and acrylic nails and creates artistic nail designs for her customers. She has been training nail technicians for over 6 years and is an author of her own patented nail courses. Feel free to use the comment field below to ask Elaine something you wanted to know about nails and manicures!