Looking for a way to take your nail game up a notch? White flame nails are the perfect way to do just that! This trendy and chic design is simple enough for everyday wear, but can also be dressed up for special occasions. In this article, we will show you how to create white flame nails with ease. We’ll also provide some design ideas to get you started. So whether you’re a beginner or an experienced nail artist, read on for the best tips and tricks!
The best shapes for white flame nails
One of the great things about white flame nails is that they can be created in a variety of shapes. Whether you prefer long and slender nails or short and round nails, there’s a design for you! Here are some of our favorite shapes for white flame nails:
 | Babalal Short acrylic press-on nails with white flame design [Short] Colors: white, nude pink 1.900+ Ratings | |
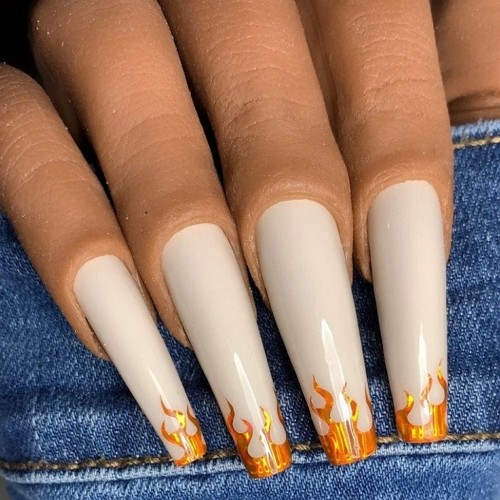
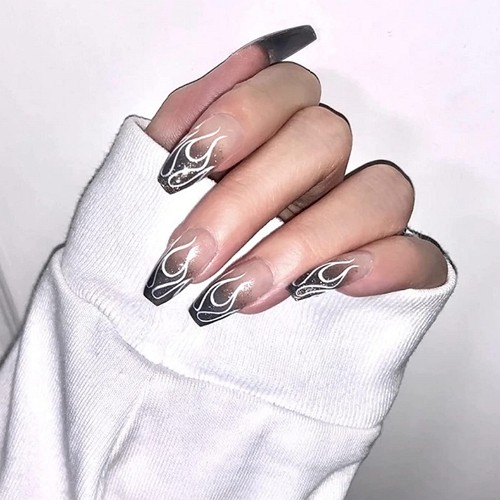
 | CoolNail Medium length press-on coffin nails with glitter ombre and white flame design [Medium length] Colors: nude beige, silver glitter, white 300+ Ratings | |
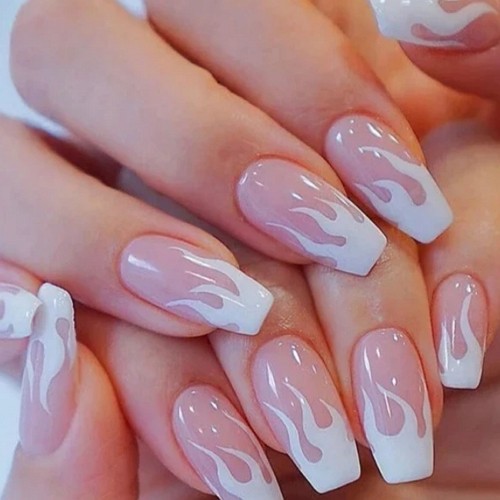
 | Kxamelie Medium round nails with white flame design on tips [Medium length] Colors: white, nude beige 1.900+ Ratings | |
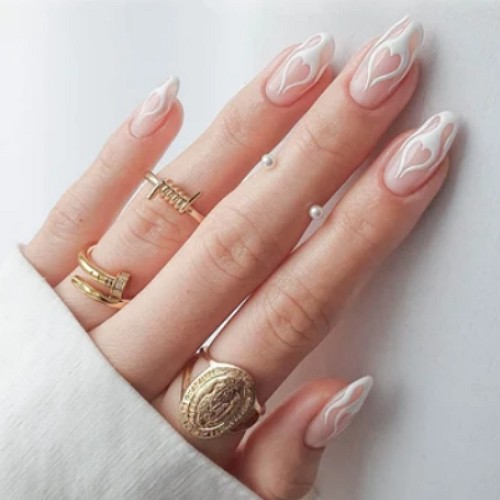
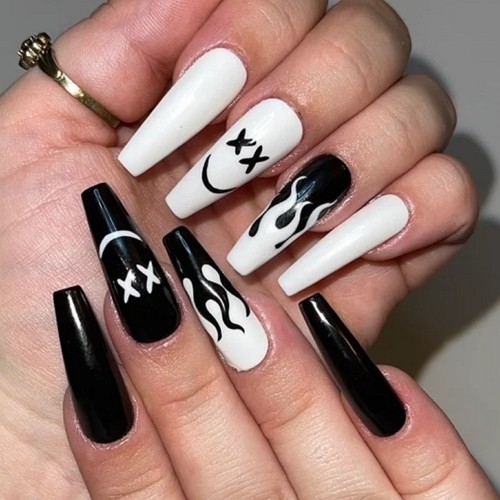
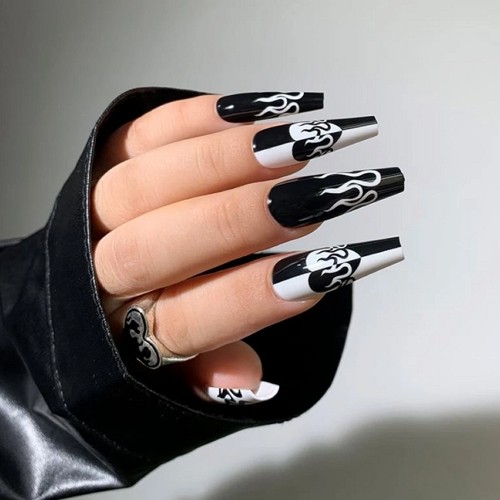
 | Babalal Black and white coffin nails with flame design, heart and other elements [Long] Colors: black, white 400+ Ratings | |
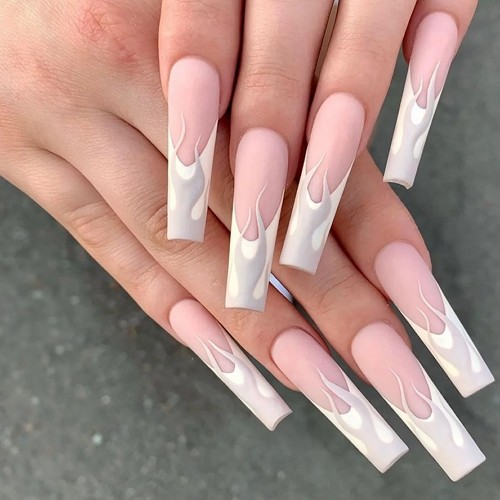
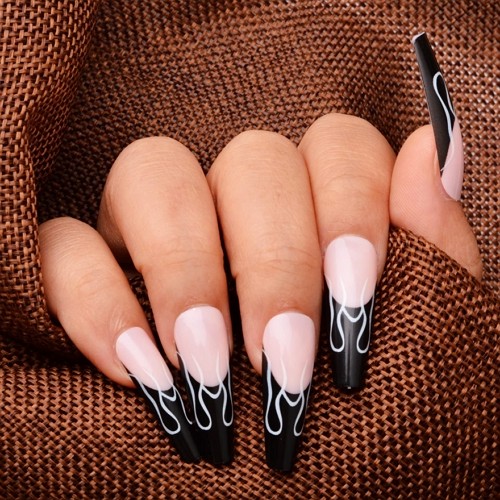
 | Imsohot Extra long coffin nails with gray and white flames and matte finish [Long] Colors: light gray, white, nude pink 20+ Ratings |
- Coffin-shaped nails: This trendy shape is perfect for those who want to make a statement. To create coffin-shaped nails, file your nails into a long and slender oval shape. Then, use white nail polish to create the “flames” at the tips of your nails.
- Round-shaped nails: If you’re looking for a more classic look, round-shaped nails are the way to go. To create this shape, simply file your nails into a round shape. Then, use white nail polish to create the “flames” at the tips of your nails.
- Square-shaped nails: For a modern twist on classic white flame nails, try square-shaped nails. To create this shape, file your nails into a square shape. Then, use white nail polish to create the “flames” at the tips of your nails.
- Stiletto-shaped nails: If you’re feeling daring, stiletto-shaped nails are the perfect way to show off your white flame nails. To create this shape, file your nails into a long and slender point. Then, use white nail polish to create the “flames” at the tips of your nails.
Now that you know what shapes are available, it’s time to choose a design!
Design Ideas for White Flame Nails
If you’re not sure where to start, don’t worry. We’ve got you covered with some design ideas for white flame nails. Check out these popular designs:
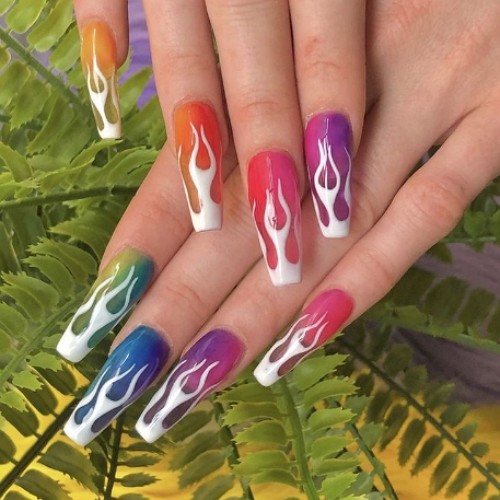
- Ombre design: For a chic and stylish look, try an ombre design. To create this look, start with a light color at the base of your nails and gradually increase the intensity of the color as you reach the tips. Then, use white nail polish or acrylic paint to create the “flames” at the tips of your nails.
- Glitter design: If you want your white flame nails to really stand out, try a glitter design. To create this look, start with a base color of your choice. Then, use white glitter nail polish to draw the “flames” at the tips of your nails.
- Abstract design: For a fun and unique look, try an abstract design. To create this look, start with a base color of your choice. Then, use white acrylic paint or nail polish to create random “flames” at the tips of your nails.
- Striped design: For a classic and timeless look, try a striped design. To create this look, start with a base color of your choice. Then, use white nail polish to create thin stripes at the tips of your nails.
How to create nail designs with white flame
Now that you know what shapes and designs are available, it’s time to get started! Follow the steps below to create your own white flame nails:
- Step one: Choose your shape.
- Step two: Choose your design.
- Step three: Paint your nails with a base color of your choice.
- Step four: Use white nail polish or acrylic paint to create the “flames” at the tips of your nails. If you’re using nail polish, we recommend using a thin brush for more control. If you’re using acrylic paint, you can use a toothpick or dotting tool to create the “flames.”
- Step five: Allow your nails to dry completely.
- Step six: Apply a top coat of clear nail polish to seal your design.
And that’s it! You’ve now created your very own white flame nails. We hope you enjoy showing them off!
Additional design elements for white flame nails
If you want to take your white flame nails to the next level, consider adding some additional design elements. Check out these ideas:
- Rhinestones: For a touch of glamour, try adding some rhinestones to your nails. You can add them randomly or use them to create patterns.
- Glitter: If you want your nails to really sparkle, try adding some glitter. You can add it randomly or use it to create patterns.
- Metallic accents: For a touch of sophistication, try adding some metallic accents to your nails. You can add them randomly or use them to create patterns.
- Gold and silver are popular choices, but you can also use other colors.
- Nail art: If you’re feeling creative, try adding some nail art to your nails. You can use stamps, stickers, or even hand-painted designs.
Get creative and have fun! There are no rules when it comes to nail art.
Meet our Expert
 Elaine Andrews is a professional nail technician with 12+ years of experience. She works both with gel and acrylic nails and creates artistic nail designs for her customers. She has been training nail technicians for over 6 years and is an author of her own patented nail courses. Feel free to use the comment field below to ask Elaine something you wanted to know about nails and manicures!